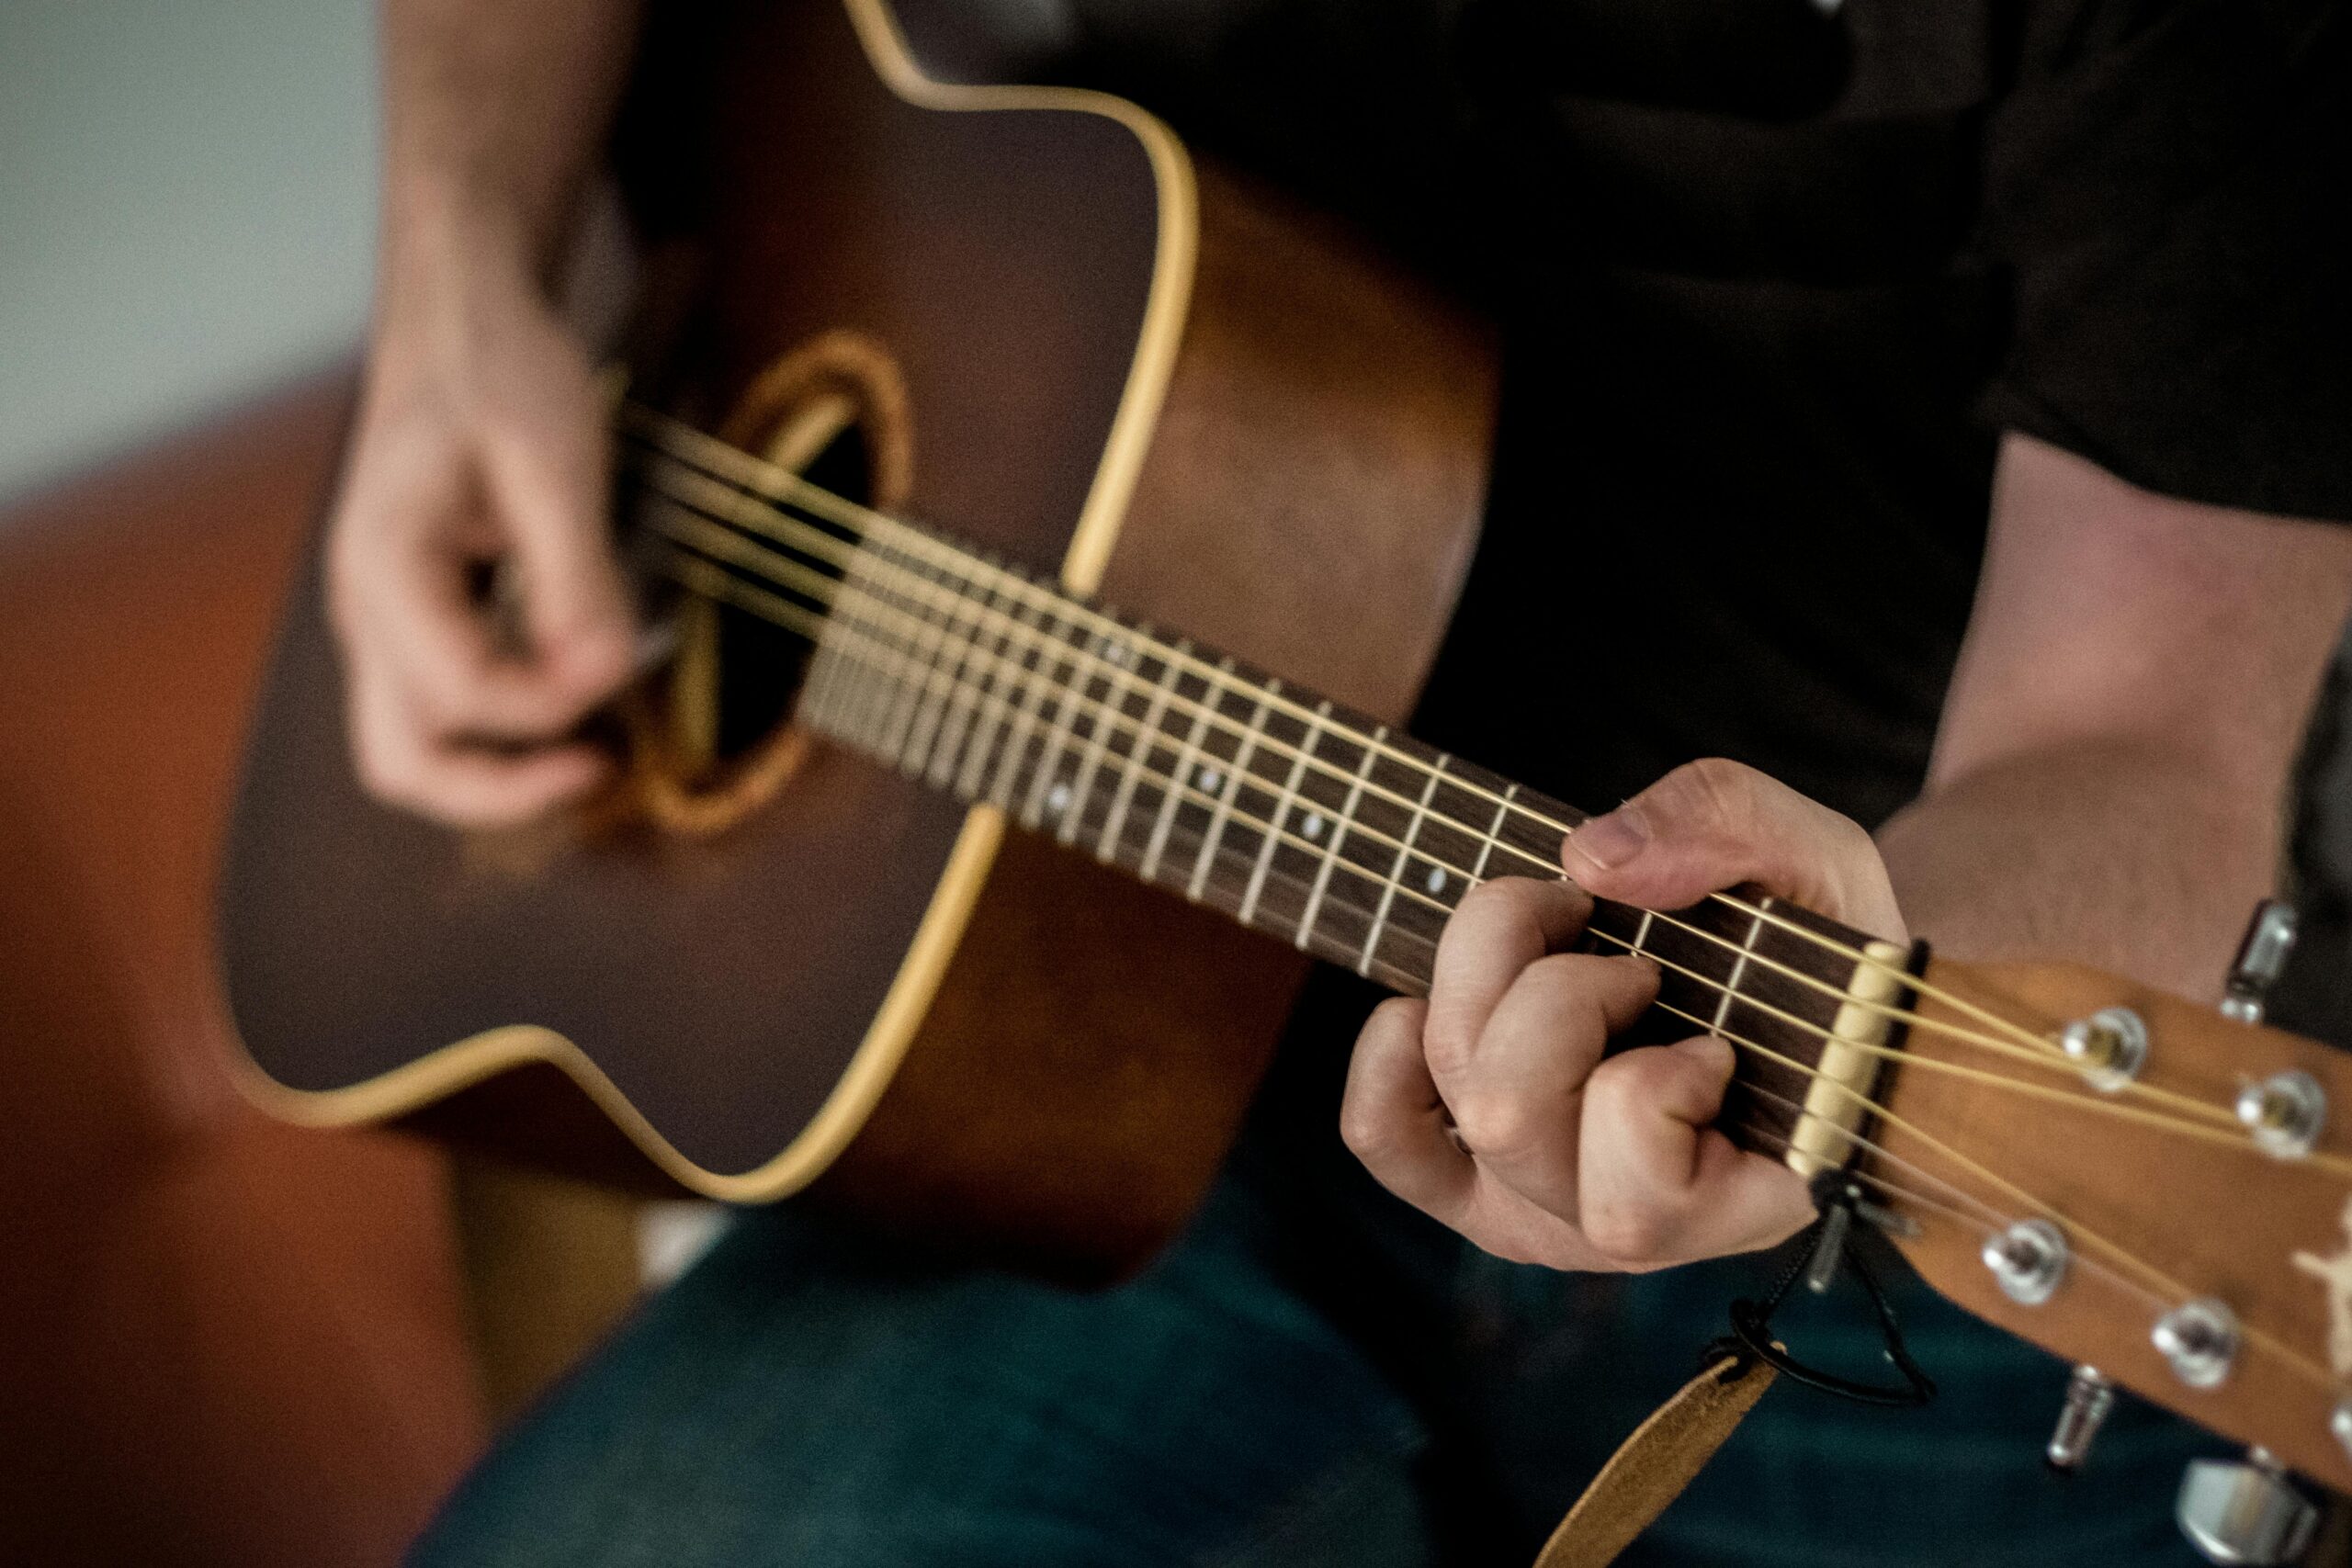
GoLives are one of the most important things to use on vyb. GoLives are meant to be quick recordings that engage and excite your fans, content they only get in your vyb account. Regular GoLives keep your fans coming back to your account and let you speak to them directly.
You can be really strategic with your GoLives by choosing the audience. Make some content available for all fans, make some exclusive to your subscribers. Here are a couple of examples:
- You are recording new music and you want to hype your audience for the upcoming release. Record a short GoLive that only plays the hook of a new song, then announce at the end that if people want to hear more, they need to subscribe. Now go record a longer playthrough of the song and make that exclusive to your subscribers.
- You are on the road with a tour, do a quick GoLive backstage, intro some of the other people hanging out there.
- Do a rig rundown of the gear you are using for a show or on a recording.
- Take one of your popular songs and record an intro describing the songwriting or recording process.
- Every Saturday at noon do a GoLive where you play a couple of songs in your rehearsal studio. Let fans in the chat pick the next song you play.
Tipping
Your fans can give you tips during the GoLive, so it can be a fun way to do regular engagements with them without all the setup of a ticketed event.
How to Do a GoLive in 6 Steps.
Here is how to record GoLives and start engaging your fans:
Step 1. Launch GoLive

From the top Launch menu, select GoLive
Step 2. Set the Title and Choose Audience

By default, vyb will use the date to set a title for your GoLive. You should edit this to something more descriptive for your fans.
Now set the Audience. This is who can watch this while you are live as well as well as view the video afterwards.
Not quite sure if you have the catchiest title, don’t stress!! The title and Audience can be edited anytime you want after you’ve recorded your GoLive, even years later
Step 3. Choose Stream Source

The easiest thing to do for stream source is to use your built-in webcam from a laptop or your phone. Don’t turn this into a big hassle, just grab your phone and do a quick video.
If you want to use a more sophisticated multi-camera setup, you can select Streaming Software to use OBS or other popular video software programs.
Step 4. Set Privacy Settings

Under privacy settings, you can choose if the recording is available afterwards. Usually we recommend that you do this, that way you build up your exclusiive content library.
Make your GoLive more interactive by letting fans chat with you during the GoLive.
Step 5. You are Ready to Record!

Now simply press “Start GoLive” and you are recording!
The chat will be on the sidebar, make sure to check that if you’ve let your fans know you are going live at a certain time.
After you are done, the GoLive video will show up in your profile in a few minutes.
Step 6. Generate a Preview


Your video may need a moment or two to show up. Refresh your screen and once it is there, you can generate your preview. If you want to use a frame in your video, then scrub the video to the right position and make note of the timestamp.
In the bottom right, click the Generate Preview select a thumbnail image for a preview
Select an image to act as a thumbnail image for your GoLive
Alternatively, you can change your video timestamp to the right position in your video.
Click the Generate Preview button and then hit “Save:
Fans can now see your GoLive!

Any of your followers and subscribers will be notified that you have done a new GoLive.
If you’ve made this GoLive open to all, then any fan can find the video in your profile and watch it.
Make Edits to Your GoLive

To change the title or audience of your GoLive, navigate to My GoLives in your dashboard and select “Edit” from the action menu.
To change the preview image, select “View detail” and then re-generate the preview.

